
To find a video by describing what is in it, you need an index of frames from your footage and a search that compares your words with those frames. In B-Roll Archives, you connect a folder, prepare its previews and visual index, switch the search to Visual, and type a short description such as “a cat”. The results are clips ranked by how closely a sampled frame matches. Opening one plays the original file from that sampled moment.
This guide walks through the whole workflow with the example we use in our documentation, and explains where it can miss.
Why filenames are not enough
Camera and stock filenames rarely describe the shot. The cat clip in this walkthrough is called 15307802_1080_1920_30fps.mp4. That name tells you the resolution and frame rate, but nothing about the cat. Metadata such as duration, orientation, or codec narrows a library, as covered in the guide to viewing video metadata, but it cannot say what was filmed.
What you usually remember is the subject, place, or action. Visual search is built for that kind of memory.
Step 1: Connect the footage where it lives
Choose Add Folder and select a footage folder or drive. The app reads the files where they are; it does not move or copy your originals into a new library.
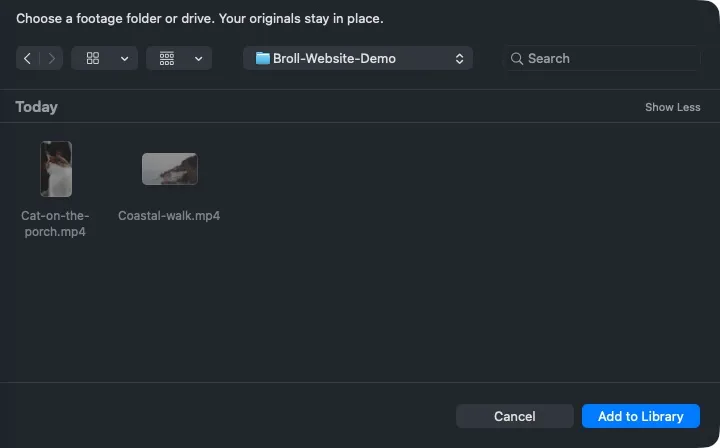
For this walkthrough, the folder holds two clips: a short cat clip and a coastal walk. Your own first test should be small too: one recent shoot is enough to see how the workflow behaves on your footage. The folder and drive setup guide covers sources in more detail.
Step 2: Prepare previews and the visual index
Preparation happens in two passes, both on your Mac:
- Previews. The app reads each readable clip and caches a twelve-frame contact sheet. You can browse these immediately.
- Visual index. Choose Visual in the Archive search toolbar, then Prepare visual search. The app encodes the overview frames plus additional samples taken approximately every five seconds.
Both passes can be paused and resumed. Long recordings take longer because they have more sample positions; a two-hour clip has about 1,440. Image and text encoding run locally, so no footage is uploaded. Visual search requires an Apple Silicon Mac (M1 or later).
Step 3: Describe the shot you remember
With Visual selected, type a short description of the subject or scene. Simple, concrete phrases work best: “a cat”, “waves on a beach”, “a yellow tram”. Start broad and add a detail only if the results are too mixed.
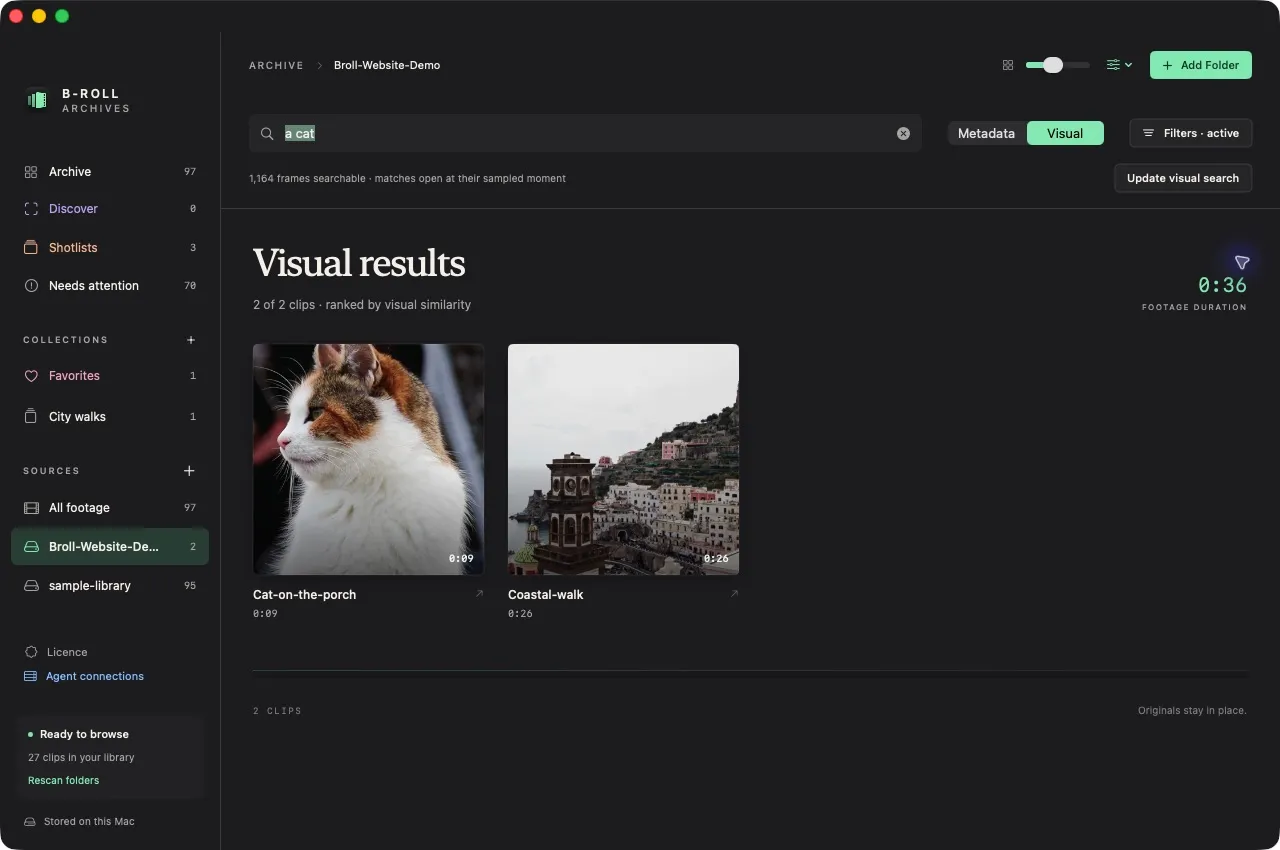
In the demonstration folder, “a cat” returns both clips. The cat clip ranks first. The coastal walk ranks second, even though it contains no cat.
That second result is important. The search ranks every candidate by similarity; it does not decide whether a clip contains the thing you described. When nothing strongly matches, the results are still ranked. Similarity scores are not confidence percentages.
Step 4: Inspect the result, not just the rank
Before trusting a result, look at its frames. Open the clip and check the contact sheet, or narrow the results with filters when you also know a property such as orientation or source.
Across the full sample library, the same query ranks 15307802_1080_1920_30fps.mp4 first with a sampled match at 0:04.56. The cat clip in the demonstration folder is a renamed copy of that file. Your own results depend on your footage and which frames were sampled.
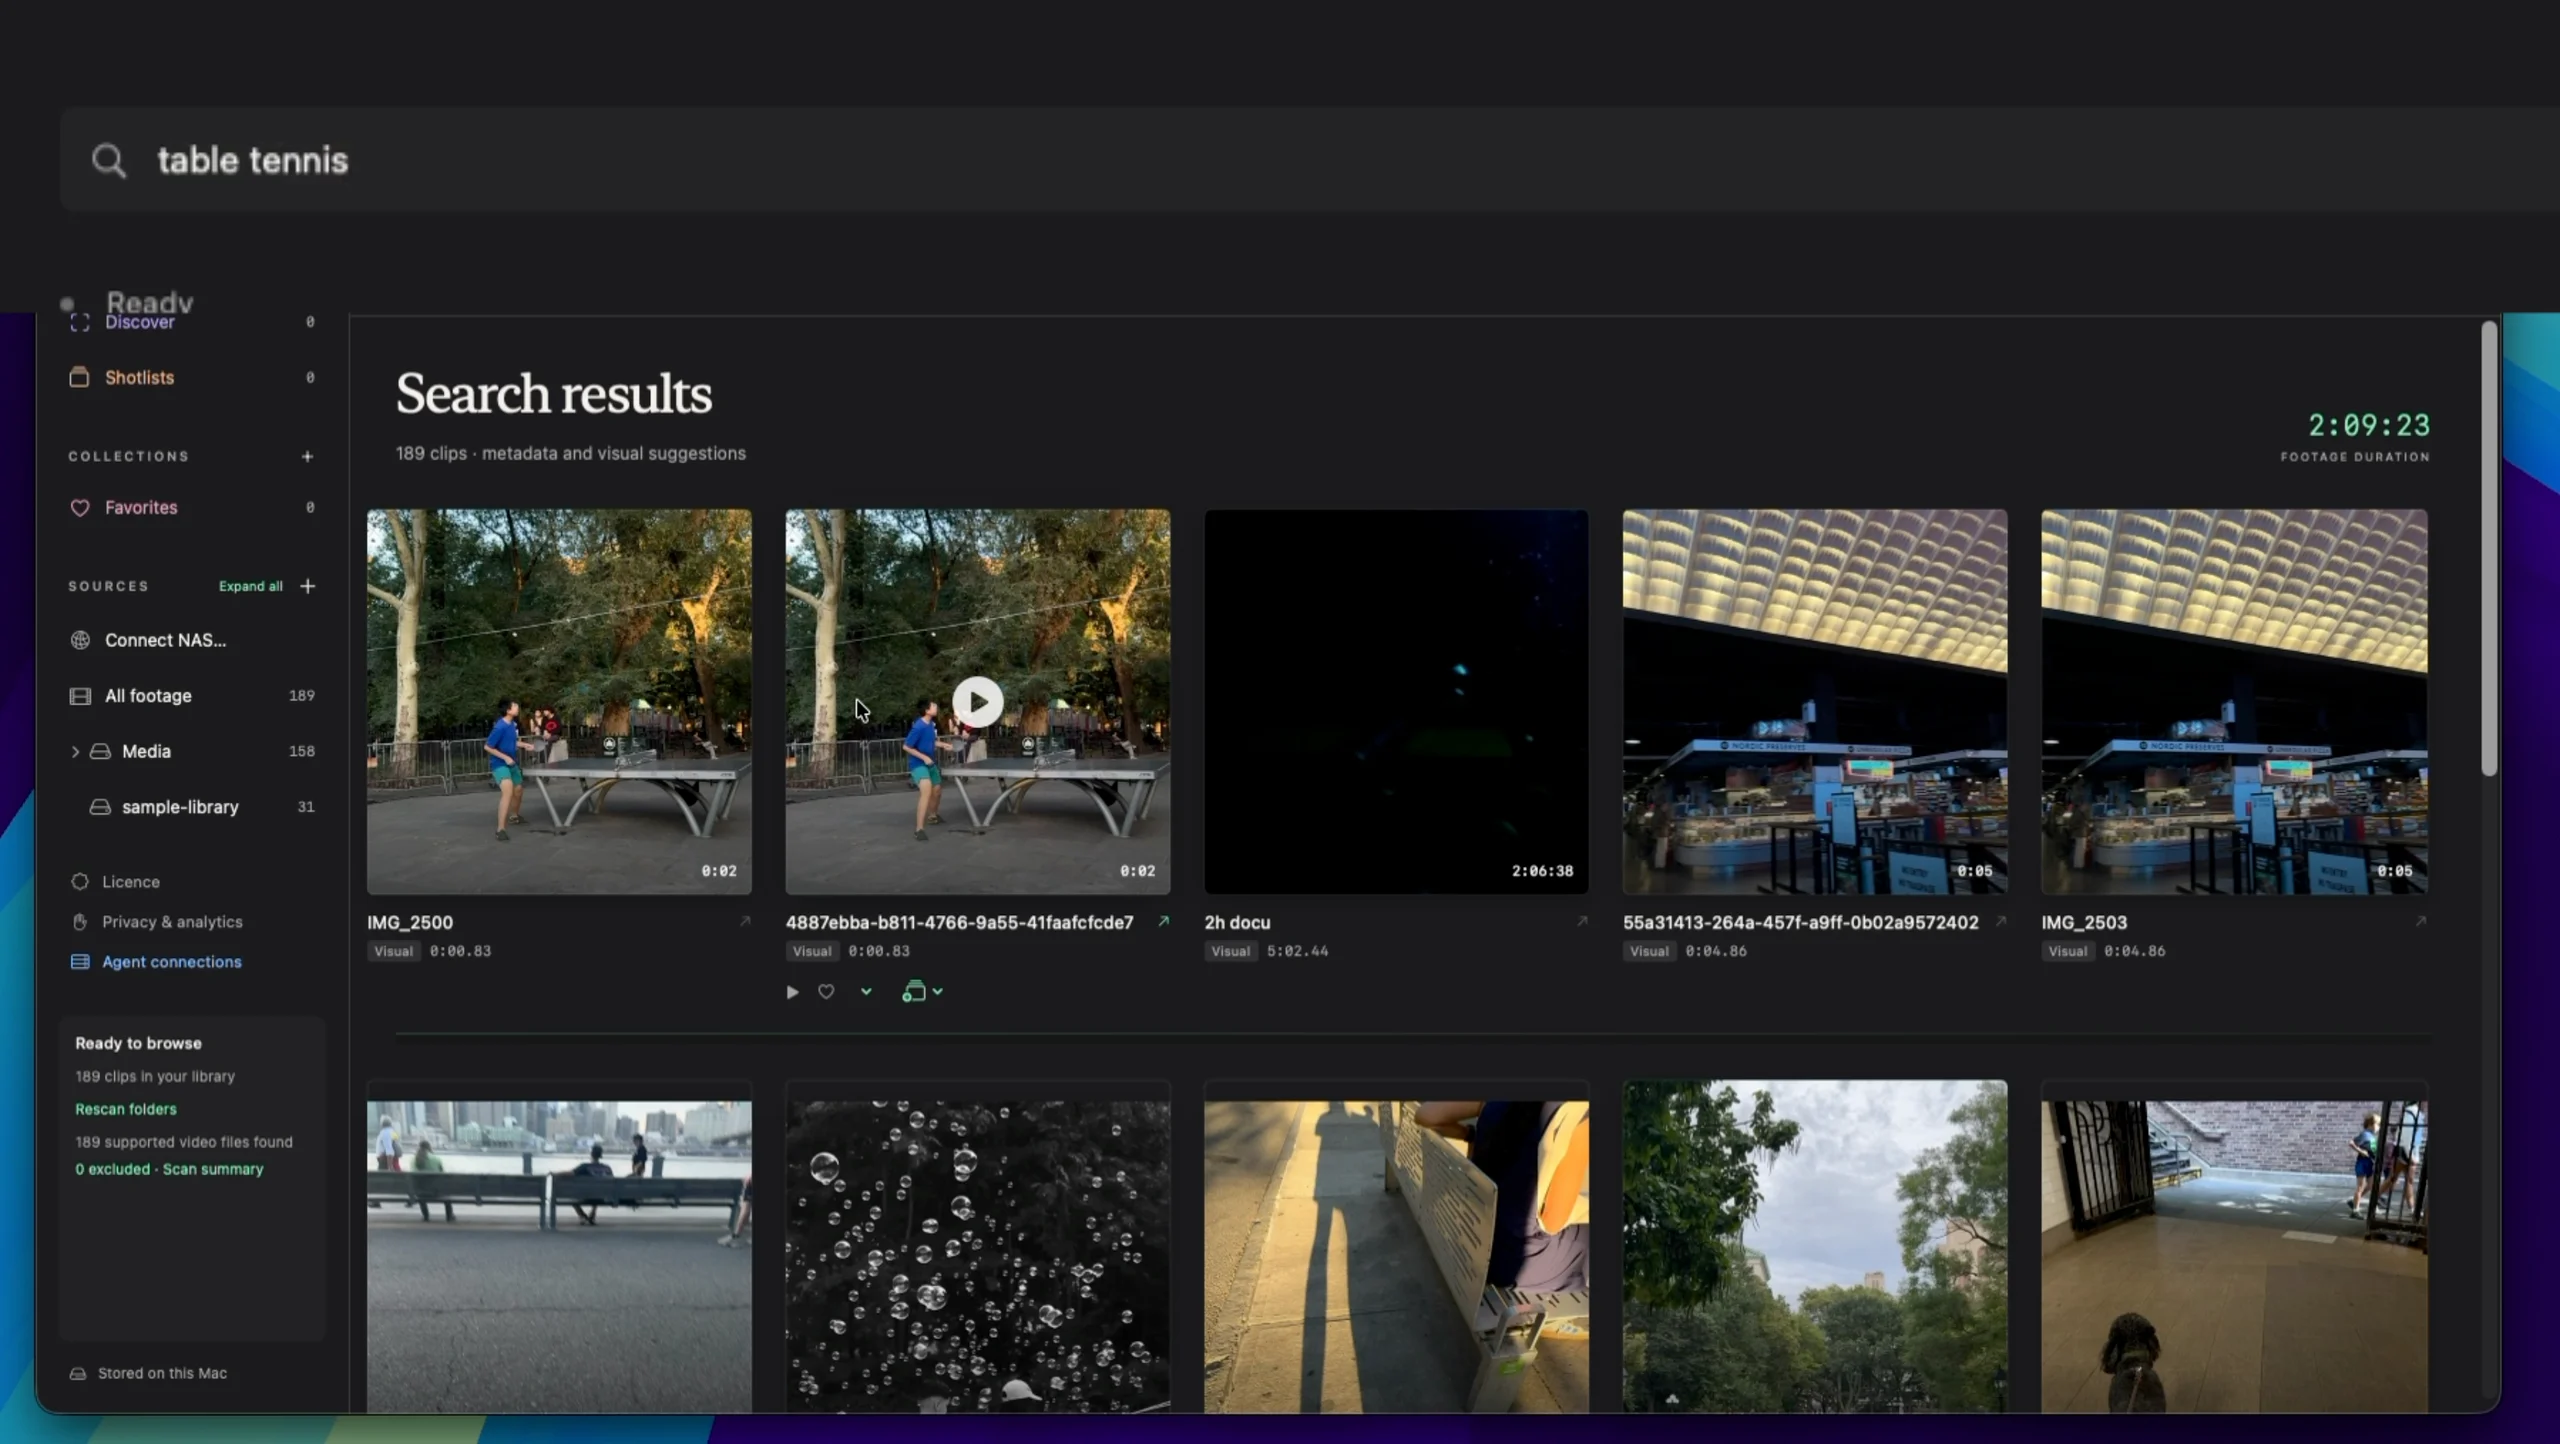
The capture at the top of this page shows the same pattern in a larger library of 189 clips. A search for “table tennis” puts two clips of a game in a park first, each matched at 0:00.83. The third result is a nearly black frame from a two-hour documentary. It ranks highly without showing table tennis at all, which is exactly why you check the frames before choosing a clip.
Step 5: Play the original from the matching moment
Opening a visual result starts playback of the original file at its best matching sampled moment, rather than at the beginning.
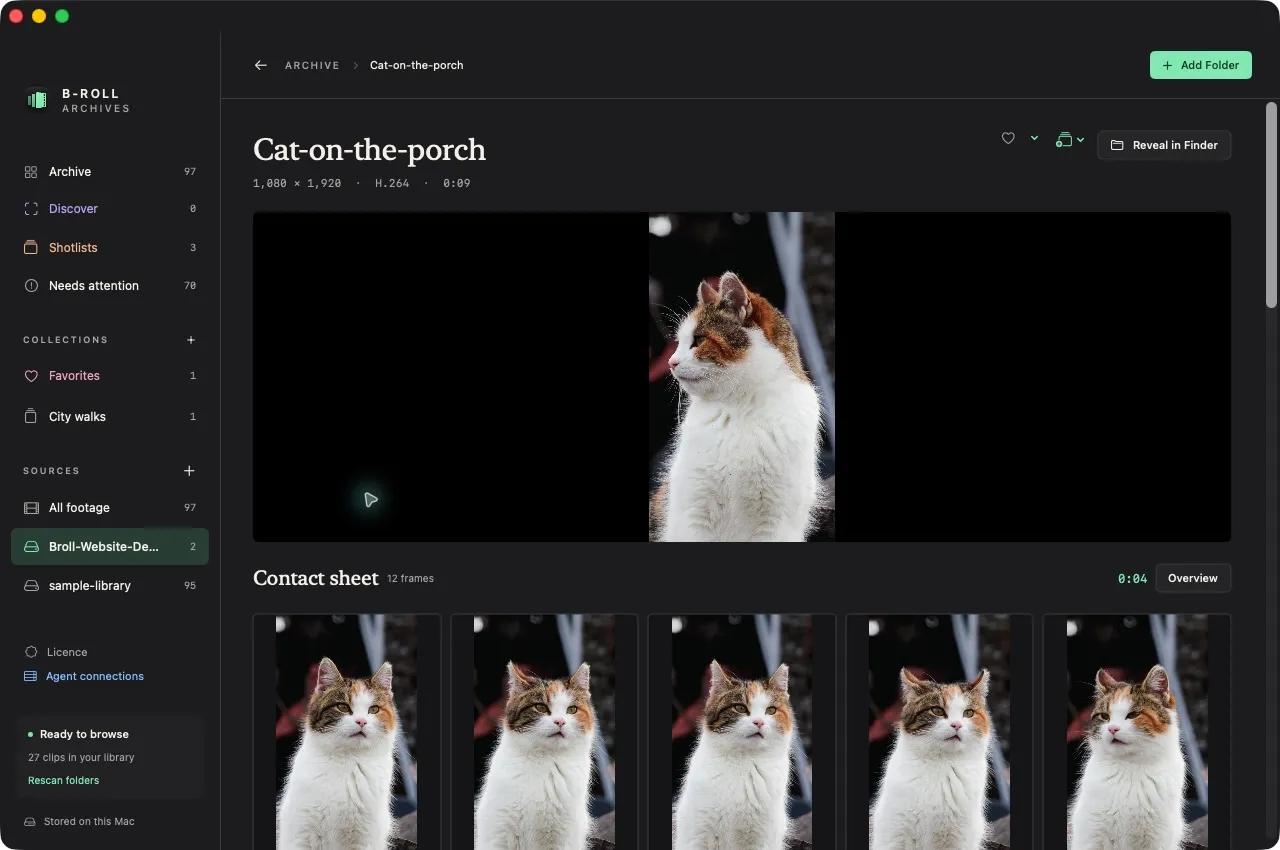
Watch the surrounding footage to judge timing and quality. From here you can choose Reveal in Finder to get back to the original file and bring it into your editing workflow. If the clip is on a disconnected drive, its cached previews still appear, but you need to reconnect the drive to play the original. The playback guide and disconnected-drive guide cover both cases.
What visual search can miss
Visual search works from sampled frames, so it inherits their limits:
- Brief moments between samples. With samples approximately every five seconds, a short action or a subject passing through the frame can fall between them. A more precise description cannot recover a frame that was never indexed.
- Weak matches still appear. If none of your footage contains the subject, you still get a ranked list. Treat a low-quality top result as “not found”, not as an answer.
- Closer inspection frames are not indexed. The denser frames you see when inspecting a time range help you look closely, but they are not added to the search index.
- New footage needs preparing. Once visual search has been prepared, new or changed clips are analyzed after their previews are prepared. Until then, they will not appear in visual results.
When visual search does not find a shot, fall back on what else you remember: a filename or folder, a technical property, or browsing contact sheets for the likely project.
Try it on footage you know well
The best test is a clip you can already picture. Prepare one drive, search for three shots you remember clearly and one you only half remember, and check how far down each result appears. That shows you more about how visual search fits your library than any example can.
For setup details and troubleshooting, follow the visual-search guide. To compare this approach with other ways of organizing footage, see how to choose a video organizer for Mac.