
To view video metadata on a Mac, select the file in Finder and press Command-I to open Get Info, then expand More Info. For more detail, open the video in QuickTime Player and choose Window → Show Movie Inspector (also Command-I in QuickTime). Between them, you can see a clip’s size, dates, dimensions, duration, compression format, and frame rate without installing anything.
Those two views answer “what is this file?” The harder question is usually “which of my files match?” This guide covers both: reading the properties, understanding what they mean, and using them to narrow a library.
View basic file information in Finder
- Select the video in Finder.
- Choose File → Get Info, or press Command-I.
- Look at General for the file’s kind, size, location, and created and modified dates.
- Expand More Info for media properties such as dimensions and duration, when macOS has read them.
Finder’s information comes from the file system and from what macOS indexes about the file. If More Info is empty or incomplete, the file may not have been indexed yet, or macOS may not be able to read that format. That is not necessarily a sign that the file is damaged.
Inspect media properties in QuickTime Player
- Open the video in QuickTime Player.
- Choose Window → Show Movie Inspector, or press Command-I.
Apple’s Movie Inspector instructions describe information such as the compression format, size, aspect ratio, bit depth, HDR format, and frame rate for video, and the format and data rate for audio. This is the quickest built-in way to confirm the codec and frame rate of a single clip.
The Movie Inspector shows one open file at a time. It is an inspection tool, not a way to search across a folder.
What the properties mean, using a real clip
Here is what macOS reports for 15307802_1080_1920_30fps.mp4, a short stock clip of a cat from our sample library:
| Property | Value | What it tells you |
|---|---|---|
| Duration | Just under 10 seconds (9.999) | Whether it is long enough for the cut you need. |
| Dimensions | 1080 × 1920 | The frame is taller than it is wide: a vertical (portrait) clip. |
| Codec | H.264 | How the video is compressed, which affects compatibility and editing performance. |
| Frame rate | 30 fps | How many frames per second were recorded; matters for slow motion and matching a timeline. |
| File size | 7.2 MB | Storage and transfer cost; here about 5.8 megabits per second. |
| Audio | None | The clip has no audio track. |
| Dates | Created and modified 4 October 2026 | When this copy of the file was written to disk, not when it was filmed. |
The last row is the one that most often misleads. This file carries no embedded capture date, so the only dates available are file-system dates from when it was downloaded. Copying footage between drives can produce the same effect. Camera originals often do record a capture time, but not every format or export preserves it.
Viewing metadata is not the same as editing it
Finder and QuickTime Player let you read these properties. Changing embedded tags, such as a title, description, or capture date written inside the file, is a different task that needs a tool designed to rewrite the file. Treat that as deliberate file-management work and test it on a copy first.
Renaming a file or adding Finder tags changes how you find it on your Mac, but it does not change the video’s embedded metadata.
Use metadata to narrow a footage library
Reading properties one clip at a time does not scale. What you usually want is a filtered view: every vertical clip under fifteen seconds, or all H.264 footage from one drive.
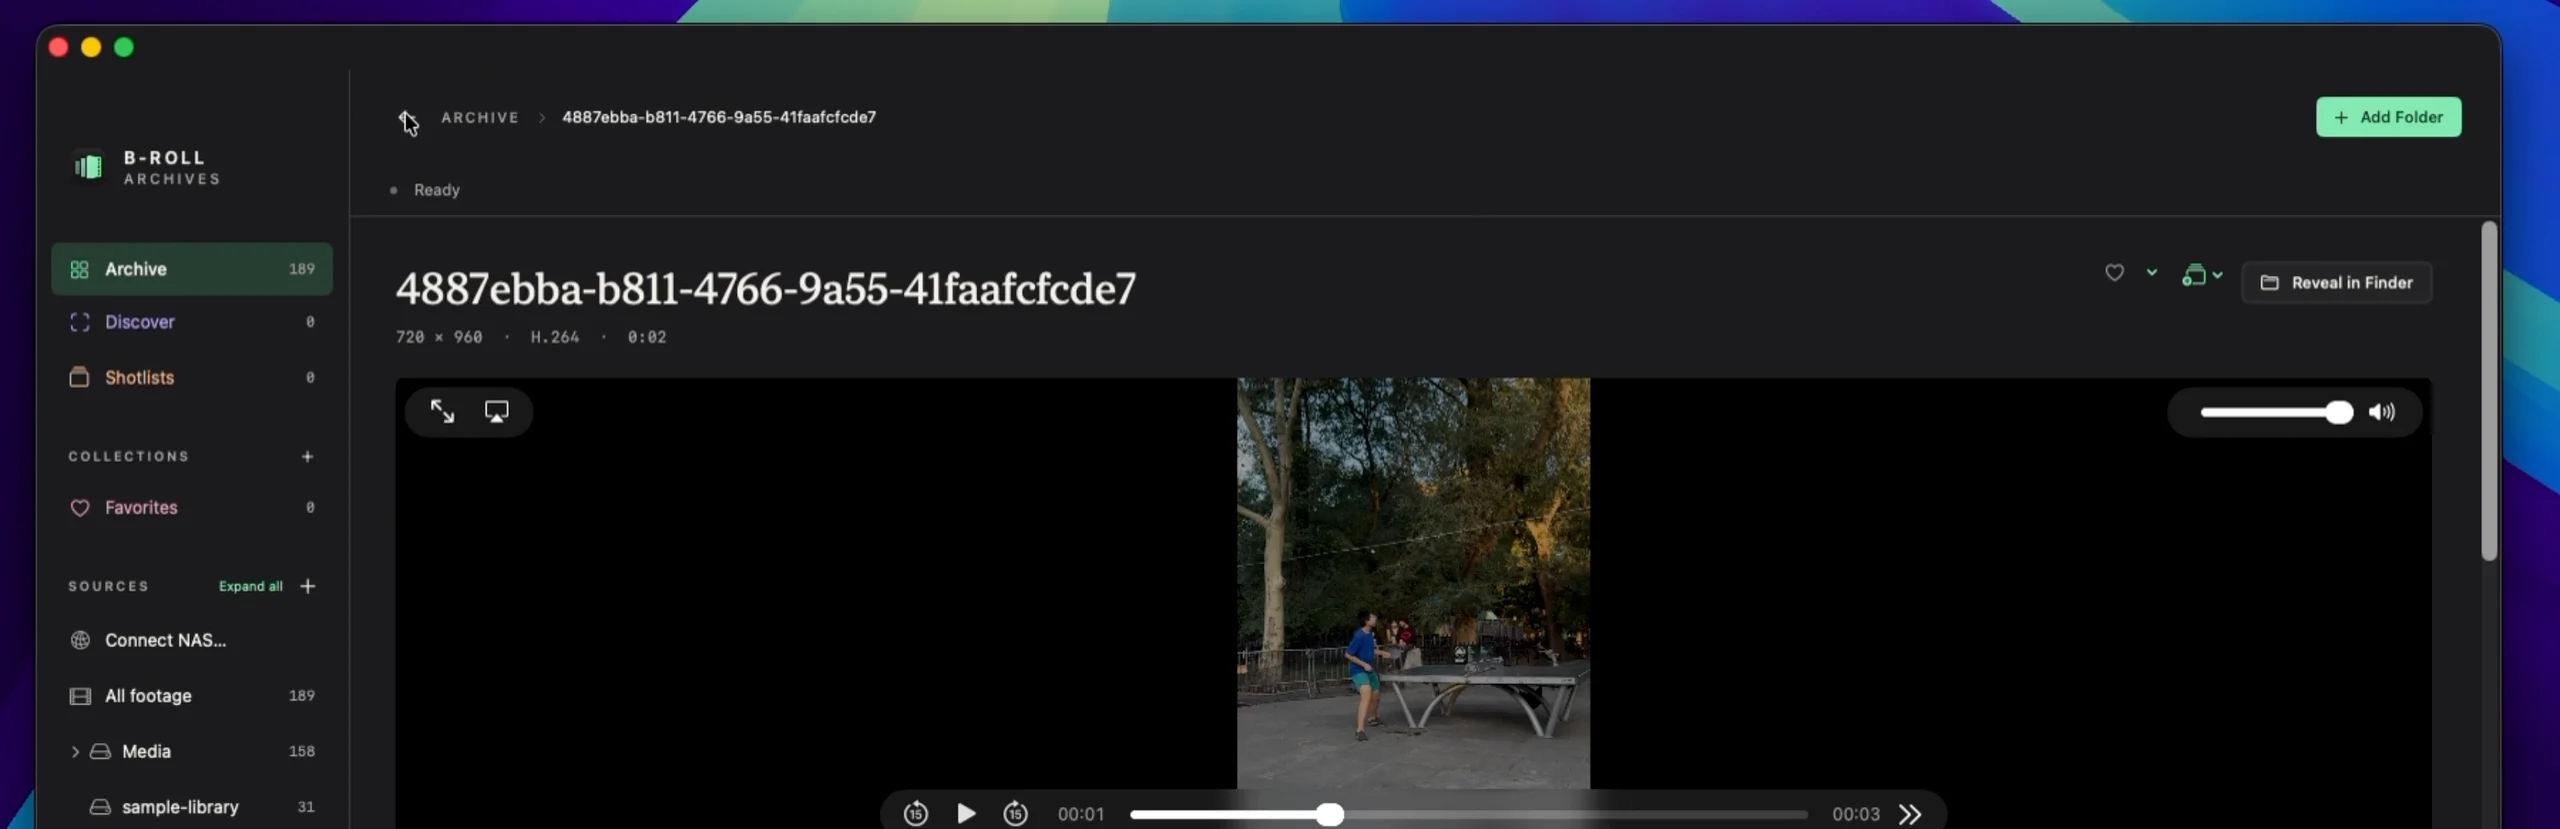
In B-Roll Archives, open Filters in the Archive toolbar and choose a source, codec, file type, orientation, resolution, or status, then add duration bounds or a capture-date range if needed. Filters combine with metadata and visual search, and an active-filter indicator reminds you that the full library is not visible. The basics are visible as soon as you open a clip: the capture at the top of this page shows its dimensions, codec, and duration (720 × 960, H.264, two seconds) right under the clip name. For everything else, scroll to Clip metadata, where you can expand the file, video, audio-track, and format sections that are available.
Two things to keep in mind when filtering:
- Capture dates fall back to modification dates. When no capture time was recorded, the app uses the file’s modification date, so the cat clip above is dated by its download in October 2026. Leave the date filter off when you are unsure.
- Missing fields are normal. Available camera and embedded metadata varies by format and by what macOS can read. A missing field means the information was not available, not that the app can infer it.
The filters and clip-details guide lists the current controls. If you remember a filename or folder rather than a property, metadata search is the better starting point.
Choose properties that match how you remember footage
Metadata is most useful for constraints you are sure of: orientation for a vertical edit, a maximum duration for a cutaway, a codec your editor handles well. It is less useful for the thing you most often remember, which is what was in the shot.
For that, combine a few reliable filters with a way of recognizing the footage itself, such as finding a video by describing what’s in it. The guide to organizing video files on Mac covers the folder habits that preserve source context, and the video organizer guide compares tools by how they let you search.